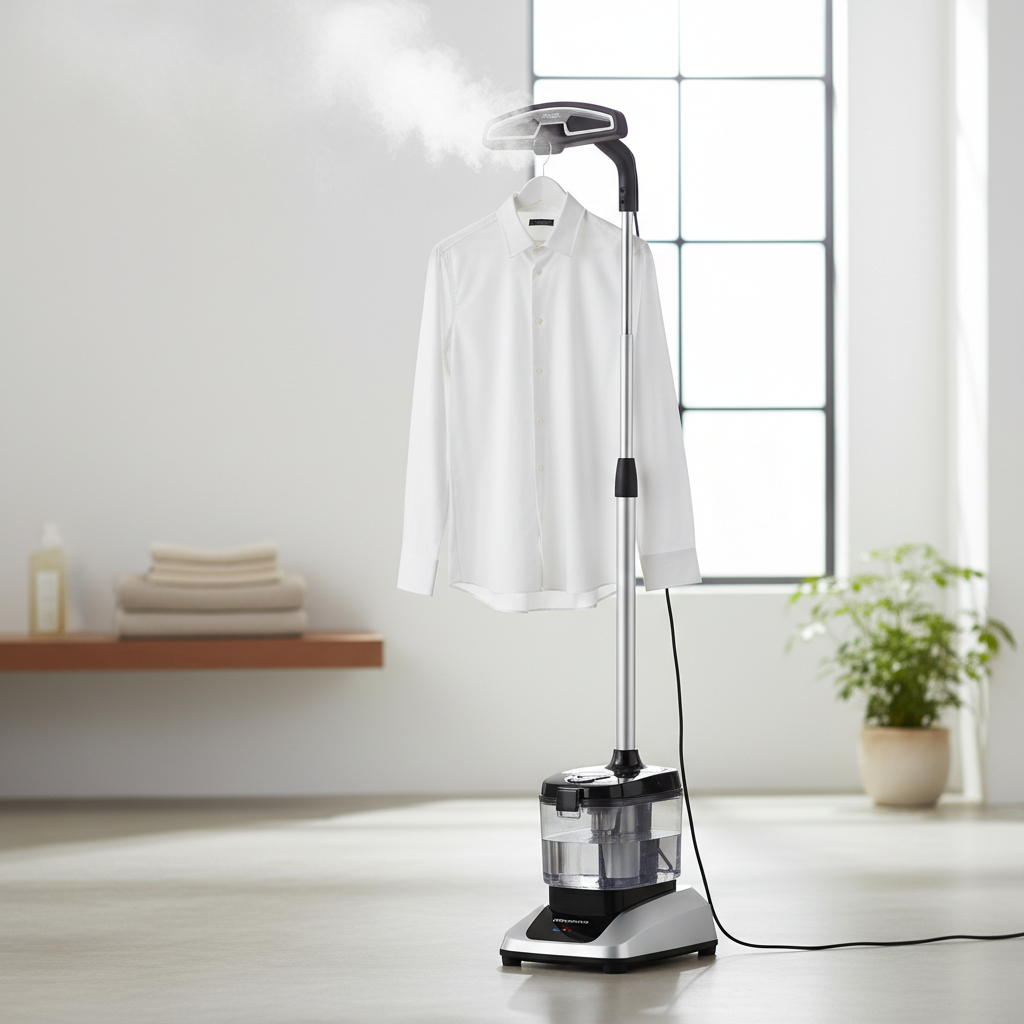
Tired of the endless battle against wrinkles, often resorting to last-minute ironing or inconvenient steaming sessions? Imagine a dedicated space in your laundry room where banishing creases is quick, effortless, and even enjoyable. Creating a DIY steaming station can transform your garment care routine, offering unparalleled convenience and efficiency while extending the life of your favorite clothes. This guide will walk you through designing and building a personalized steaming zone that perfectly fits your space and needs.
What is a DIY Steaming Station?
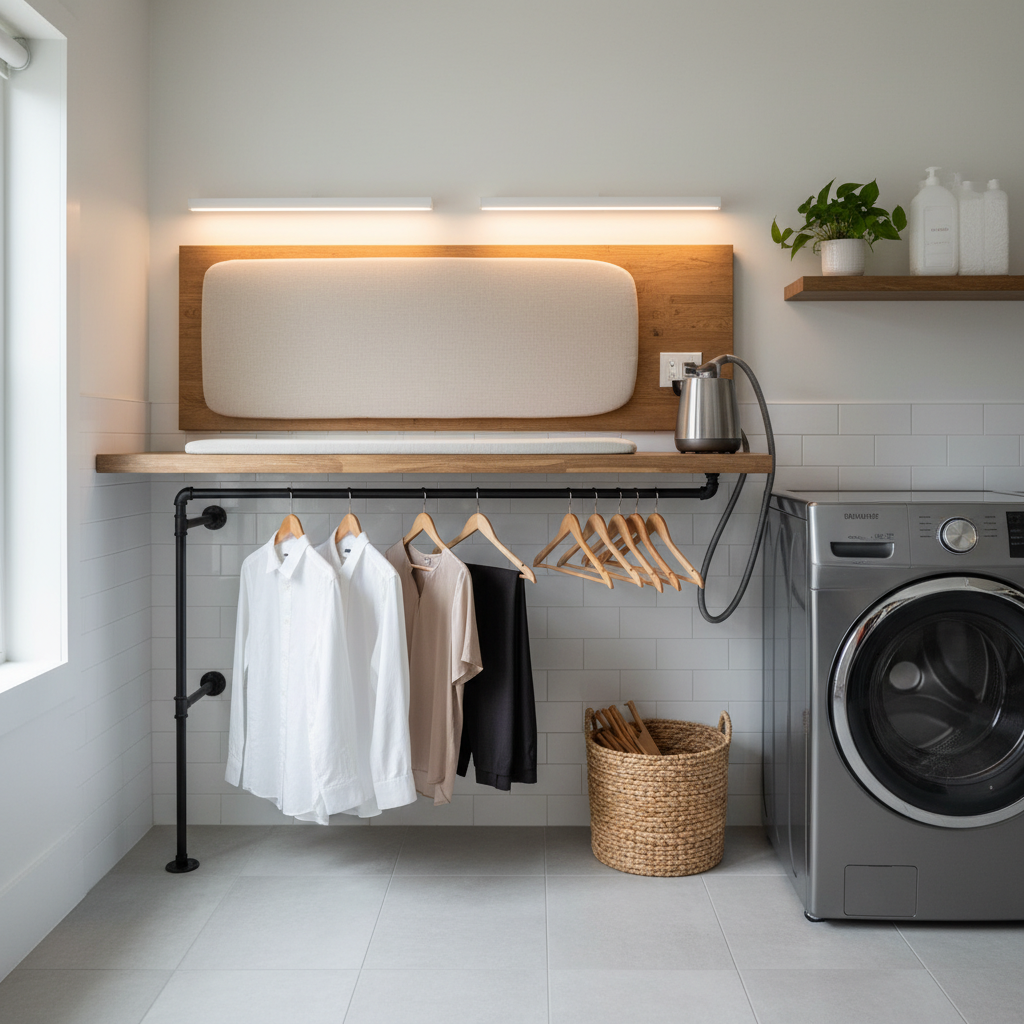
A DIY steaming station is a specially designated and organized area within your laundry room designed for the efficient use of a garment steamer. Unlike traditional ironing, which uses direct heat and pressure, steaming relies on hot vapor to relax fabric fibers, making it ideal for delicate materials, intricate designs, and quickly refreshing clothes. A well-designed station typically includes dedicated storage for your steamer and accessories, ample hanging space for garments, and convenient access to power and water. This dedicated setup offers significant advantages over ad-hoc steaming, such as improved workflow, better organization, and reduced effort, freeing you from the constant struggle of finding a suitable spot and clearing clutter every time you need to de-wrinkle.
Planning Your Laundry Room Steaming Station
Thoughtful planning is the cornerstone of any successful DIY project. Before you grab your tools, take some time to assess your space and define your specific requirements.
Assess Your Space
|
Our Picks for the Best Standing garment steamer in 2026
As an Amazon Associate I earn from qualifying purchases.
|
||
| Num | Product | Action |
|---|---|---|
| 1 | Pure Enrichment PureSteam XL Standing Fabric Steamer - Professional Wrinkle Remover Heats in 45 Seconds; 1/2-Gallon Tank for 1 Hour of Steaming; Easy-Roll Wheels, Garment Hanger, & Fabric Brush |

|
| 2 | Jiffy Steamer J-2000 Jiffy Garment Steamer with Plastic Steam Head, 120 Volt, Beige |
|
| 3 | SALAV GS18 Full-Size Clothes Steamer - 1500W Power, 1.8L Water Tank, 60-Min Garment Steam, Iron Clothing, Adjustable Pole & Wheels for Easy Storage, Professional Standing Steamer for Clothes, White |
|
| 4 | SALAV Heavy Duty Commercial Full-Size Garment Steamer with Foot Pedals and Extra Large 3L (101.5 oz) Water Tank, 1800 watts, 90+min of Continuous Steam (White) |
|
| 5 | True & Tidy Heavy Duty Commercial Full Size Standing Garment Steamer for Clothes with Extra Large 3L (101 oz) Water Tank for 90+ mins of Steam Time, 1800 watts of Powerful Steam, 3 Settings, Gray |
|
| 6 | SALAV® Heavy Duty Smart Auto Shut-off Commercial Full-Size Garment Steamer, Beeping Alert when Water Runs out, Foot Pedal Control, XL 3L (101.5 oz) Tank, 1800 watts, 90+min of Continuous Steam, Navy |
|
| 7 | Garment Steamer for Clothes Standing, 1500W Efficient Clothes Steamer Standing with Wheels, Professional 58OZ Water Tank for Continuous Steaming, Fast Heating Wrinkle Remover |
|
| 8 | SALAV GS18-DJ Standing Garment Steamer with Roll Wheels for Easy Movement, 1.8L Water Tank for 1 Hour Continuous Steaming, Adjustable Pole for Storage, Includes Descaler Packet, 1500 watts |
|
| 9 | SALAV Heavy Duty Commercial Full-Size Garment Steamer with Foot Pedals and Extra Large 3L (101.5 oz) Water Tank, 1800 watts of Poweful Steam (Navy) |
|
| 10 | Upright Steamer for Clothes 1350W Turbo Boiler Standing Garment Steamer 1.6L Water Tank 1h Continuous Steam Flat&Hanging Ironing Double Retractable Rod 10 Modes 30s Fast Preheat for all Fabrics |
|
Start by evaluating the available area in your laundry room. Do you have a spacious room or a compact closet? Consider unused wall space, the area above your washer and dryer, or even a corner that could be repurposed. Measure potential spots for width, height, and depth, keeping in mind the footprint of your steamer and the length of garments you typically steam.
Identify Your Needs
Your steaming habits will dictate the design of your station.
- Daily Ironing/Steaming: If you frequently touch up a few items, a compact, quick-access station might be best.
- Large Quantities: For steaming larger batches, such as a week’s wardrobe or multiple items at once, you’ll need more extensive hanging space and a robust setup.
- Different Fabrics: Consider if you steam delicate silks, heavy coats, or everyday cottons, as this may influence the type of steamer and accessories you need to store.
- Storage Requirements: Beyond the steamer itself, think about where you’ll keep distilled water, a pressing mitt, lint rollers, extra hangers, or even a small spray bottle.
Essential Components
Every effective steaming station, regardless of its complexity, should incorporate these core elements:
- Garment Steamer: Whether you prefer a standing model with a large water tank or a compact handheld unit, ensure it has a designated home.
- Hanging Rod or Rack: This is crucial for hanging garments as you steam them and allowing them to cool wrinkle-free. A portable clothing hanger or a laundry room rolling rack can be very effective for steaming multiple shirts, pants, or suits simultaneously.
- Water Source: Easy access to water, preferably distilled water to prevent mineral buildup in your steamer, is vital. This could mean a sink nearby or a dedicated storage spot for a gallon of distilled water.
- Power Outlet: A conveniently located electrical outlet is non-negotiable. Consider a power strip secured to your station for easy on/off access, especially if your steamer cord is short.
- Accessory Storage: Baskets, hooks, or small shelves are perfect for keeping your steamer’s attachments, pressing mitts, and other steaming essentials organized and within reach.
Types of DIY Steaming Stations
Your DIY steaming station can range from a simple, portable setup to a more elaborate, built-in solution. Choose the type that best suits your space, budget, and DIY skill level.
The Compact & Portable Steaming Nook
This option is perfect for smaller laundry rooms or for those who need flexibility.
- Focus: Maximizing minimal space and offering mobility.
- Materials: A rolling utility cart can serve as a mobile base for your steamer and accessories. Wall-mounted utility hooks or an over-the-door hanger can provide immediate hanging space. Dollar Tree baskets can be repurposed to store handheld steamers, irons, and hangers, keeping cords neatly tucked away.
- Benefits: Quick to set up, easy to move out of the way when not in use, and highly adaptable.
The Integrated Wall-Mounted Steaming Zone
For a more permanent and streamlined solution, consider building a wall-mounted station.
- Focus: Creating a dedicated, organized zone that utilizes vertical space efficiently.
- Materials: Install sturdy shelving for your steamer and water supply. A robust wall-mounted rod, perhaps a tension rod between cabinets or a fixed closet rod, provides ample hanging space. A foldable ironing board or a pressing mitt attached to the wall can offer a convenient surface for collars or cuffs.
- Benefits: Frees up floor space, creates a clean and organized look, and establishes a clear workflow for garment care.
The Dedicated Steaming Closet/Cabinet (Advanced)
For the ultimate steaming enthusiast, a dedicated steaming closet or repurposed cabinet can offer an almost professional-grade experience.
- Focus: An enclosed space designed for high efficiency, capable of handling multiple garments, and potentially incorporating humidity control.
- Materials: This could involve repurposing an old wardrobe or building a custom enclosure. Essential additions would be a hanging rod inside, shelves for steamer and supplies, and considerations for ventilation to manage humidity effectively. Some DIY enthusiasts even explore adding a small steamer unit directly into the enclosure to create a “steam closet.”
- Benefits: Highly efficient for large volumes, protects garments from dust while steaming, and creates a truly dedicated, discreet steaming environment.
Step-by-Step Guide to Building Your Steaming Station
Once you’ve decided on the type of steaming station, it’s time to bring your vision to life.
Gathering Tools & Materials
Before starting, assemble everything you’ll need.
- Common Tools: Measuring tape, pencil, level, drill, screwdriver, stud finder, saw (if cutting wood/shelves).
- Common Materials:
- For shelves/holders: Plywood, MDF, 2x4s, wood glue, screws.
- For hanging: A sturdy rod (metal or wood), wall brackets, tension rod, or portable garment rack.
- For organization: Storage baskets, utility hooks, over-the-door hangers.
- For accessories: Power strip (surge protector), distilled water container, extra hangers.
Preparing Your Space
- Clear and Clean: Remove any existing clutter from the chosen area. Clean the walls and surfaces thoroughly.
- Measure and Mark: Use your measuring tape and level to mark the exact locations for shelves, hooks, and the hanging rod. If you’re building a custom holder for your steamer, measure its dimensions precisely.
Installation Process
The installation steps will vary based on your chosen station type, but here’s a general guide:
- Mount Shelves and Hooks: If using wall-mounted shelves, ensure they are securely fastened to wall studs for maximum stability. For heavy items like a standing steamer, proper mounting is critical. Install hooks for pressing mitts or other small tools.
- Install a Hanging Rod:
- Wall-mounted: Attach brackets to wall studs and secure your rod. Ensure it’s high enough to accommodate long garments without dragging on the floor.
- Portable: Assemble your rolling garment rack.
- DIY Steamer Holder: Consider building a custom holder from plywood and MDF that allows your steamer to slide in and be held securely, as seen in some DIY tutorials. This can prevent tipping and organize the base unit.
- Create a Designated Steamer Base/Holder: If you have a standing steamer, ensure its base has a stable spot, either on a shelf or a custom-built stand. This prevents accidental tipping.
- Organize Accessories: Place storage baskets or bins on shelves or hang them for easy access to your pressing mitt, distilled water, and other supplies.
- Ensure Power Access and Water Supply: Position your steamer near an electrical outlet. If necessary, install a power strip, making sure it’s secured and not dangling. Keep your distilled water supply close at hand.
Safety Considerations
Safety should always be a top priority when working with steam and electricity.
- Proper Ventilation: Steam can increase humidity. Ensure your laundry room has good ventilation (e.g., an exhaust fan or open window) to prevent mold and mildew.
- Electrical Safety: Keep steamer cords and power strips away from water sources. Never overload outlets.
- Secure Mounting: Ensure all shelves, rods, and any custom builds are securely fastened and can support the weight of garments and your steamer.
- Heat Awareness: Be mindful of hot steam and surfaces. Keep children and pets away from the steaming area during use.
Top Tips for an Efficient Steaming Station
To maximize the functionality and convenience of your new DIY steaming station, consider these expert tips:
- Distilled Water is Key: Always use distilled water in your garment steamer to prevent mineral buildup, which can damage the appliance and leave marks on clothes.
- Pressing Surface: Incorporate a small, wall-mounted ironing board or a heat-resistant pressing mitt. These are invaluable for achieving crisp collars, cuffs, or quickly smoothing specific areas that need more attention than just steaming.
- Laundry Organization: Keep a dirty laundry hamper and a clean laundry basket nearby. This creates a logical flow for your garments, from steaming to folding or hanging.
- Adequate Lighting: Good lighting is essential for spotting wrinkles and ensuring your garments are perfectly smooth. Consider adding task lighting if your laundry room is dim.
- Add a Mirror: A full-length mirror can be a practical addition, allowing you to check your steamed garments immediately and ensure they look impeccable before wearing.
Comparison of DIY Steaming Station Styles
| Feature | Compact & Portable Nook | Integrated Wall-Mounted Zone | Dedicated Steaming Closet/Cabinet |
|---|---|---|---|
| Space Requirement | Very low; ideal for small rooms or corners. | Moderate; requires dedicated wall space. | High; needs space for a cabinet or a small closet. |
| Skill Level | Beginner; uses ready-made components. | Intermediate; involves basic carpentry and mounting. | Advanced; may require custom building and ventilation. |
| Cost | Low; utilizes affordable carts, hooks, and baskets. | Moderate; cost of shelves, rods, and mounting hardware. | Higher; cost of cabinet, materials, and potential ventilation. |
| Flexibility | High; can be moved or reconfigured easily. | Moderate; fixed but adaptable with accessories. | Low; a permanent structure. |
| Primary Benefit | Quick setup, versatile, and easy to store. | Organized, space-saving, and streamlined workflow. | Professional results, high capacity, and discreet. |
Using and Maintaining Your DIY Steaming Station
Proper usage and regular maintenance will ensure your steaming station remains a valuable asset in your home.
Best Practices for Steaming
- Hang Garments Correctly: Ensure clothes are hung straight and freely to allow steam to penetrate evenly. For multiple items, a rolling rack inside a large garment bag can create a micro-environment that quickly de-wrinkles several pieces simultaneously.
- Steam from Top to Bottom: Start at the top of the garment and work your way down. Gently pull the fabric taut to smooth wrinkles more effectively.
- Different Fabrics: Adjust your steaming technique for various materials. Delicates like silk require a lighter touch, while heavier fabrics like linen or denim may need more passes.
- Allow to Cool: After steaming, let garments cool completely before wearing or putting them away. This “sets” the fabric and prevents new wrinkles from forming.
Cleaning and Maintenance
- Descaling Your Steamer: Regular descaling with a vinegar solution (following manufacturer instructions) is crucial, especially if you don’t always use distilled water, to prevent mineral buildup and ensure optimal performance.
- Keep it Clean: Regularly wipe down surfaces, shelves, and any hanging rods in your station to prevent dust and lint accumulation.
- Organize: Periodically declutter and reorganize your accessories to maintain an efficient and pleasant workspace.
Troubleshooting Common Issues
- Steamer Not Producing Steam: Check the water tank level. If it’s full, scale buildup might be blocking the steam output; descaling is likely needed.
- Water Leakage: Ensure the water tank is securely seated. Overfilling can also cause leaks.
- Wrinkles Remain: Make sure you’re using the steamer correctly, pulling the fabric taut, and allowing enough time for the steam to work its magic.
Conclusion
Creating a DIY steaming station in your laundry room is an investment in convenience, efficiency, and the longevity of your wardrobe. From compact, portable setups to fully integrated wall units or even dedicated steam closets, there’s a solution for every home and skill level. By thoughtfully planning your space, selecting the right components, and adhering to safety guidelines, you can transform your laundry routine from a chore into a seamless experience. Customize your station to reflect your personal style and garment care needs, making de-wrinkling a task you no longer dread.
Ready to conquer wrinkles with ease and add a touch of professional organization to your laundry room? Which DIY steaming station style will you tackle first to streamline your garment care?
Câu Hỏi Thường Gặp
How much does it cost to build a DIY steaming station?
The cost varies significantly depending on the complexity and materials. A basic portable setup using a utility cart and hooks might cost as little as $50-$100, while a more elaborate built-in system with custom shelving and rods could range from $200-$500 or more, especially if you opt for high-quality wood or specialized hardware.
What are the essential tools for a DIY steaming station?
Key tools typically include a measuring tape, pencil, level, drill, screwdriver, and potentially a stud finder for secure wall mounting. If you’re cutting custom shelves or pieces, a saw (hand saw, circular saw, or jigsaw) would also be necessary.
Can I convert an old cabinet into a steaming station?
Yes, converting an old cabinet into a steaming station is an excellent DIY project. You would need to add a hanging rod inside, possibly some shelves for accessories, and ensure there’s a power outlet nearby. Proper ventilation is crucial for an enclosed space to prevent moisture buildup.
How to ensure proper ventilation for a steaming station?
For optimal ventilation, use your laundry room’s exhaust fan during and after steaming. If there isn’t one, consider installing a small fan or opening a window to allow steam to dissipate. In enclosed cabinet stations, you might need to add passive vents or a small fan to circulate air.
What’s the best way to store a garment steamer?
The best way to store a garment steamer is upright in a dedicated spot, ideally within your steaming station. Keep the water tank empty and clean when not in use to prevent mineral buildup and odors. Wrap the cord neatly, and store any attachments in nearby baskets or bins.